Monday, September 22, 2014

Calibrate your monitor without any hardware

If you are serious about your photography, you must ensure that your monitor is properly calibrated. The importance of display calibration in digital photography can not be overemphasized. There is a lot of difference in the way our eyes perceive a subject and the the way your camera captures. Again there is a wide difference in what your camera captures and what your monitor displays or what your printer prints. One may go at lengths to get a customs white-balance in the camera using proprietary white balance tools like the Expodisc or the Colorchecker Passport but if the monitor is not properly calibrated all that effort goes waste. Each digital camera records colours differently and to make matters worse your monitor interprets colours differently. It is not just colour that is of importance. The brightness and contrast of the monitor also have an important bearing on the way our image appears on our monitors. If you find that your prints are consistently dark, it means that your monitor is too bright.  A red, pink or purple flower may appear different on your monitor from what you actually saw.

If you edit your images in Lightroom or Photoshop (or any image editing software for that matter), it is all the more important to calibrate your monitor. If your monitor is not properly calibrated you may end up adding more contrast to an already contrasty image because the contrast setting of your monitor was very low to start with. You may end up saturating colours that were already saturated or adjusting exposure on a perfectly exposed image.

Placement of your monitor, quality of ambient light and the glare on your monitor screen also play an important role on the accuracy of your display. Ideally the monitor should be placed in a room where the quality of ambient light does not change much. The monitor should not face a window or a direct source of light as this could result in lower contrast. The area surrounding the monitor should neither be too bright nor too dark.

Calibrating a monitor is actually a very complex procedure and involves the use of dedicated hardware and software. These calibration devices, unfortunately, do not come cheap. They cost upward of  US $100. Not every photographer would like to spend that kind of money on display calibrators. Even if you seek professional help to get your monitor calibrated, it does not work out cheap as you have to recalibrate most of the monitors at least once a month.

Is there a simple and cheap way to calibrate your monitor? Well, there is! Buried deep inside your Windows or Mac menus there is a rather crude means of calibrating your monitor. Crude, because it depends on your eyes and can be tricky. Nevertheless, it is better to use this method rather than not calibrating your monitor at all. This may not be as accurate as the hardware based solutions but will be adequate for most amateurs.

I will try to explain this procedure in detail for Windows based PC using screen shots. The procedure for Apple Mac is similar and I have touched upon it at the end.

Calibrating display on a Windows based PC:

These screen shots are based on a Windows 8.1 System but the procedure is basically the same for all versions of Windows.

1. First you need to access the display settings. You can reach there by going to the the Control Panel/Hardware and Sound.

Fig 1

 2. Next, select 'Display'

Fig 2

 3. Select 'Adjust resolution' from the left panel.

Fig 3

4. Select 'Advanced Settings'

Fig 4

5. Select 'Color Management'

Fig 5

6. Again click 'Color Management'

Fig 6

7. In the next window, select the 'Advanced' tab

Fig 7

   8. Select 'Calibrate Display'

Fig 8

9. Next few screens (figures 9-21) are self explanatory. Just follow the instructions on the screen and move on to the next screen (by clicking on the 'Next ' button on the bottom right). Before you begin you should know where the brightness and contrast settings of your monitor are located. These are usually soft-touch buttons on the bottom  or on the right side of the monitor.

Fig 9

Fig 10

Fig 11

Fig 12

Fig 13

Fig 14

Fig 15

Fig 16

Fig 17

Fig 18

Fig 19

Fig 20

Fig 21
The steps represented by Figures 11-20 are crucial to the accuracy of this process and should be carried out with care. The sliders in steps represented by Figures 13 and 20 should be used very carefully. Normally, only very small amounts of correction are required. If overdone the Gama and Color Balance of the monitor can get skewed. If you are using a very old monitor which has no brightness or contrast control, you can skip this calibration in the step represented by figure 14, above. In the last step (Fig. 21) you can see the before and after results by clicking the Previous and Current calibration buttons. If you are not happy with the new results you may click Cancel to go back to the original settings.

Calibrating display on a Mac

The procedure for calibrating a Mac display is by and large the same. To get to the calibration menu follow this route on a Mac: System Preferences/ Display/Color/ Calibrate. Follow the on-screen instructions.
Conclusion:
Usually, after completing the calibration process the screen will look slightly warmer. It may take some time to get used to it but believe me, colors , contrast, brightness and Gama values will be more accurate than before. You will find noticeable difference in skin tones, textures and sky colour.

I will be covering hardware based monitor calibration in a subsequent blog. For now enjoy your calibrated display!
Please do send your feedback and comments. I value them.   

Sunday, September 07, 2014

Think before you click!

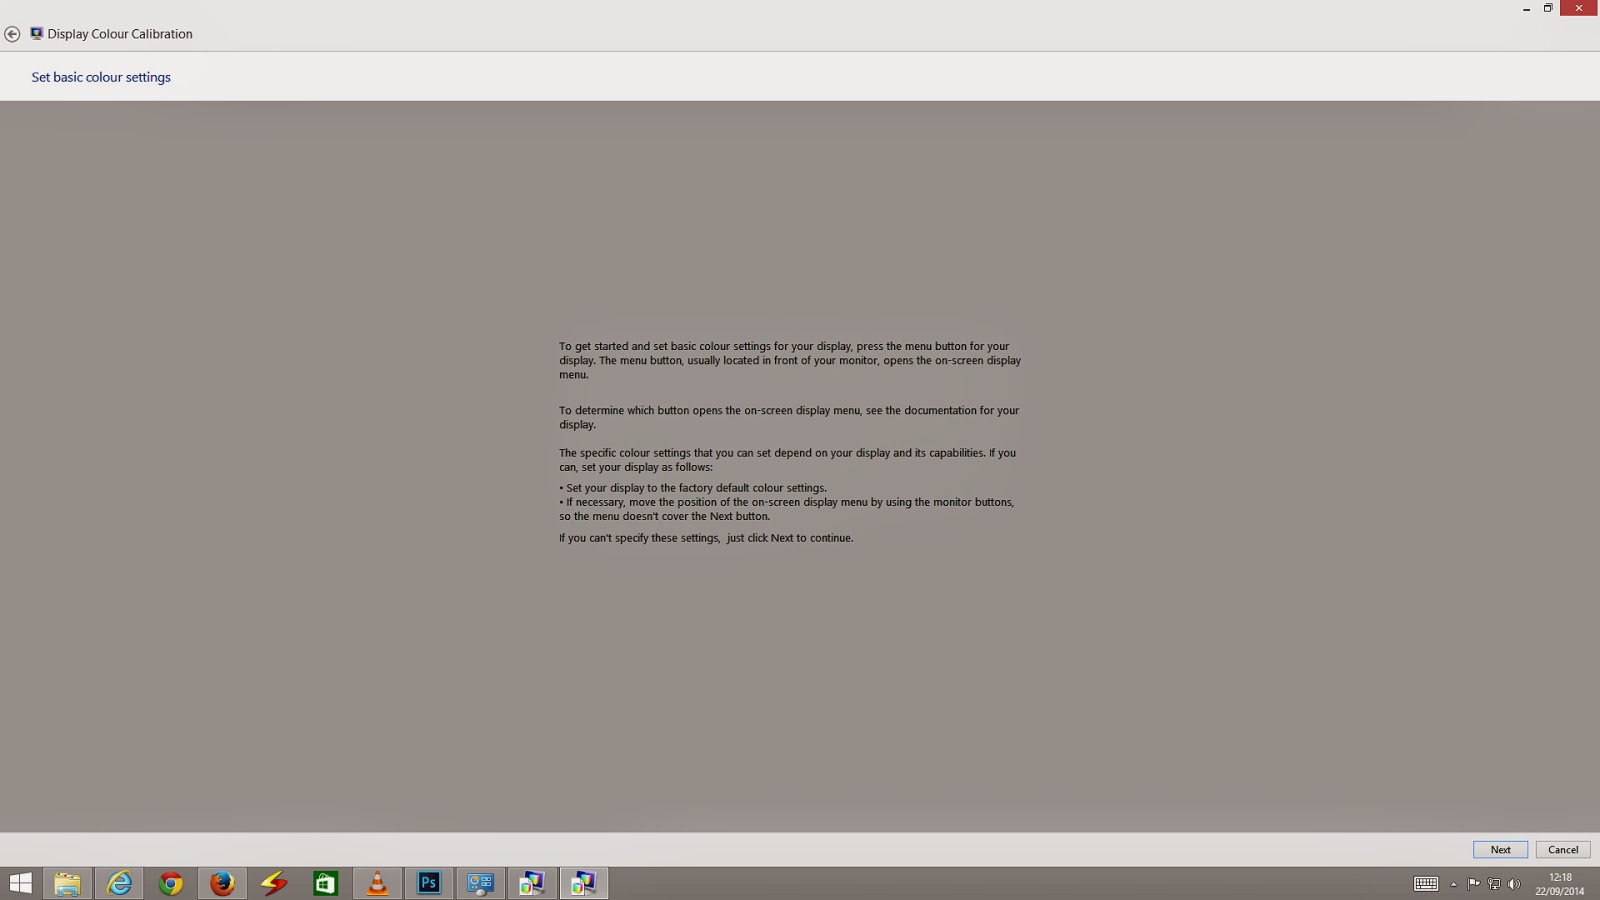
I would like to apologize to my readers for the delay in  publishing this blog. The delay was partly due to setting up, calibrating and trying out my new Sekonic  L758 lightmeter. I will cover the advantages of using a light meter like this in a future blog.

In the good old days of film photography, one was more careful about good composition and exposure, primarily because of the cost of film and processing. Depending on the occasion, one would buy films in the minimum possible quantities. May be a roll or two for a long vacation, or a birthday party. It was not uncommon to have a roll with pictures of both, the New Year and Christmas of the same year. Cameras were rarely taken out from the cupboards. While taking pictures care was taken to ensure that the precious film was not wasted. Special care was taken to ensure proper composition and exposure. Those with simple cameras without auto exposure or metering, would carefully read the instruction sheets which came with the film rolls to determine the correct exposure or follow the 'sunny 16' rule. All this was important because, unlike the present,  there was a long delay before one could see the results and the cost involved.

With the proliferation of digital photography all that has changed. The quest for perfection has got diluted somewhere down the line. As results can be seen instantaneously and cost of memory storage is low, the emphasis on proper composition and exposure seem to have taken the back seat. Taking multiple exposures of the same scene seems to be the order rather than exception. Even though the technology provides   excellent tools for exposure control and composition, not many use them. Many still think that by buying costly equipment, their images will automatically turn out  better. I have seen many who have advanced bridge cameras or even DSLR s but do not know anything about exposure compensation, shutter priority or aperture priority. Many are not even familiar with the working of the auto focus systems in their cameras.  All that they care to know is to press the shutter and expect the camera to do all the heavy weightlifting for them. Infact one gentleman asked me if the Tv mode on his Canon Powershot SX50HS bridge camera was intended for capturing images off the TV screen! Unfortunately very few bother to read the user manual. While my future blogs will surely cover the technicalities of exposure I would request the readers to try out the following over the next few days:

1. Read the instruction manual of your camera. If you have lost the camera manual, you can easily download the same from the website of your camera manufacturers' website. In particular read about the different exposure modes available on your camera and how to set up your camera for the exposure mode you want.

2. Consider each exposure as precious (as in the film days!). Think carefully before pressing the shutter release button.

3. Switch your camera to Aperture Priority mode (A or Av mode) or Shutter Priority mode (S or Tv). In other words move away from the P or any fully automatic mode. Learn more about depth of field. Try out shooting with different aperture, starting with the widest your camera provides. Do not get confused with the numbers, small numbers indicates large apertures and vice versa . f/3.5 is a larger aperture than, say,  f/8. Take pictures of a flower or plant at different apertures and see what happens to the background. See how you can freeze a moving object by using a fast shutter speed of deliberately blur it by using a slow shutter speed. If you have a camera (or a cell phone) which has no means to control aperture or shutter speed, do not worry, move on to the next step. I will cover depth of field in a future blog.
Image of a boat with two persons taken at Kumarakom, Kerala, India. The image illustrates the importance of correct exposure. There are details in the sky and shadow areas of the boat
A proper exposure is essential to bring out details in the shadows and highlights.In this picture even a slight overexposure would have resulted in washed out sky.


4. Before pressing the shutter button think about the final image. Will the image convey to its viewer what you intend it to convey? Is the lighting right? Is the composition balanced? Is the background distracting? Is there any unintended object in the frame? (This could very well be your camera bag or a lens cap!) Is the horizon straight and appropriately placed for the image? How is the sky? An overcast grey sky devoid of any detail can adversely impact an otherwise perfect image. You will be surprised that by moving a few steps forward or backward or bending a little can make a lot of difference to the image.
Picture taken at Kanyakumari, the Southern Tip of India showing the Vivekananda Rock and Thiruvallur Statue. This illustrates the importance of correct exposure for the sky and shadow areas
It is essential to ensure proper exposure for the sky. At the same time the details on the statue are clearly visible

5.) After you get back to your computer, evaluate your image critically. Your camera's LCD screen is too small for a proper evaluation. See if the exposure is correct. Has the image been composed well? Are there any distracting elements in the image? Is the horizon straight? Does your portrait suffer from red eye? Is the image free from any colour cast? Is the focus tack sharp? Is there an unintended motion blur? Any evidence of camera shake? I will surely cover many of the issues in my blogs but you can surely evaluate your pictures and plan for better images in future.
Image illustrating the use of leading lines. Image photographed at Kanyakumari, the Southern Tip of India
Colors, and rows of boat visually lead your eyes to the church in the background. In landscape photography it is essential to have interesting foreground

6.) While you should try to get your image right while shooting, do not shy away from post processing. All images coming out from a digital camera can greatly benefit from post processing in an image editor. This is true for images from a cell phone camera or even the most advanced DSLR. You do not require an advanced image editor like, Photoshop, Lightroom or Aperture to edit your images. Simple image editors like Picasa are sufficient for basic image editing. You may also try out the image editing software that might have come with your camera. While in the image editor, you may adjust the exposure, brightness and contrast. Remove R'ed Eye', straighten your horizon and crop your image for  better composition.

7) Store your images meticulously. You should be able to retrieve any image without difficulty. Storage devices are becoming cheaper. Do consider investing in a high capacity external hard drive exclusively for your images. You may like to classify and name your folders appropriately for quick retrieval. You may also like to have a folder exclusively for your best images. This will serve as a great learning tool to enhance your skills.

8) Consider printing some of your images. There are many online print retailers. Nothing like having your own prints framed and decorating your wall.

9) You can easily show your images to your friends on any modern TVs. For most LCD/LED TVs an imaged cropped to an aspect ratio of 16:9 will appear as full screen without any black crop band above and below your image. You will find 16:9 crop as one of the crop preset in any image editing software including Picasa.
Use of contrasting colours for visual appeal. Photographed at Coorg, Karnataka, India
Contrasting colours and a the dirt track visually lead you into the frame


10) Share your images with your friends and relatives through on line albums like Picasa and Flicker or through social networking sites like Facebook.

Saturday, August 09, 2014

10 tips for Photographing Flowers

Most amateur photographers would have tried their hands at photographing flowers with varying degree of success. Very often the results are not as expected and quite disappointing. The challenges involved in photographing flowers include lighting, capturing the right color & texture and the angle of view, Flowers are all around us and with a few simple techniques one should be able to take reasonably pleasing images of these. Most of the tips here can be used with any camera (including cell phone cameras). No specialized equipment like close up lens or extension tubes are required. With a little practice and effort you should be able to capture excellent images every time.

1. Select carefully: If you are at a place with lots of flowers, select a flower which looks fresh and is not damaged. Very often we are so engrossed in photography that we ignore defects on the flower we selected. After capturing the image it is usually not possible to see any imperfections like withered petals, on the small LCD screen of a digital camera. When viewed later on a large screen or print, these imperfections become an eyesore. If,  however, there is no choice available, you may like to consider photographing the flower from an angle which minimizes imperfections.

Photograph of a pink rose with damaged petal this is an illustration propting the reader to select the flower carefully
Beware of imperfections in flowers. If you have a choice, select a different flower or try a different angle.

A pink rose flower photographed from a different angle to hide the damaged petal
This is the same flower. By changing the angle, I could get rid of the damaged petals

Photograph of violet flower to illustrate the importance of photographing fresh, undamaged flowers
Ensure that the flowers look fresh.


2.Go close and compose with care: While capturing images of flowers, you will always get better results if you move as close to it as possible. This is particularly so if you are photographing small flowers. This makes your composition stronger and you will be able to bring out texture of the flower in greater detail. All compact cameras and Cell-phone cameras also offer a macro mode which help you to focus very close to the lens. Coming close will ensure better isolation of the selected flower.

Close-up of a flower illustrating the advantages of moving close when photographing flowers
Close-ups often bring out finer details in the flowers

Photograph of a small blue flower, illustrating the need to move in close while photographing small flowers
This flower was smaller than a Rupee coin. By moving closer I could get this result without any additional closeup equipment.

3.Isolate the flower from its surroundings: the flower you selected should not get lost in a maze of distracting background. Try to isolate and emphasize the flower you have selected by moving around and selecting a point of view which offers the least background clutter. This can also be achieved by moving in as close to the subject as possible. Those with cameras with adjustable aperture may select a wide open aperture to render the background out of focus. I will be covering this aspect in greater detail in a subsequent blog on depth of field. All DSLR and Bridge cameras offer an Aperture Priority Mode (Av mode in Canon and A mode in other cameras) Use this mode to select the widest aperture.  I am avoiding a detailed discussion on aperture (or F/stops, as they are referred to) in this blog to keep it as simple as possible.

A close up of a large flower. Illustrating isolation by moving closer
Isolate the selected flower by moving in close and choosing an angle which offers a clutter free background.
Photograph of a blue flower, isolated from its background using a large aperture
This flower has been isolated from its background by moving closer and using a large aperture.

4. Beware of breeze: Very often we get unsharp images of flower because of subject movement due to breeze. If you are shooting on a windy day, try to shield the flower you selected with a cardboard or an umbrella. If you have a camera which allows you to increase the shutter speed (Tv mode in Canon and S mode in other cameras) , choose as fast a shutter speed as possible. If you have no control over the shutter speed or can not shield the selected flower, it will be better to wait till the wind subsides.

Photograph of a long stalked red flower illustrating the need to be beware of breeze
Flowers with long slender stalks are more prone to movement due to breeze.


5. Soft lighting and back-lighting are best for flower photography: For photographing flowers, soft lighting is the best. An overcast day or shadows offer excellent soft light to bring out true colours of a flower. Avoid shooting flowers in harsh sunlight as this may result in harsh shadows. Do remember that harsh lighting may render the flower too contrasty and the colors may not come out accurately. If necessary, you may use an umbrella to shade the flower you are photographing. You may, however,  also try back-lighting (Light coming from behind the flower) to get some creative images. Back-lighting can bring out finer details and texture. Back-lighting may also add an attractive glow to the flower being photographed. If the back-light is too strong, you may have to use a reflector or fill-in flash to correctly expose the darker side of the flower.

A pink rose flower illustrating the importance of soft lighting for flower photography
Soft lighting is best for flower photography

 6.Dew drops:  Dew drops can enhance the beauty of flowers. Select a proper angle to to ensure that the drops are contributing positively to the image. You may also spray water on the flower to get same effect. A few drops of water make the flowers look fresh.

Morning glory flower with dew drops
Dew drops can enhance the beauty of your image
7. Shooting angle: Shooting angle is a very important consideration when shooting flowers. Pointing the camera down to shoot flowers at ground level may lead to disappointing results. You surely need to bend, squat or even lie down  to get good results. Visualize your image from different angles. The image below would not have been possible from standing position.

Image of a flower captured at eye level to illustrate the importace of shooting angle
Try different angles
 8. Crop your image: While photographing flowers it may not always be possible to compose your shot the way you might have desired. Very often you may get excellent results by cropping the image in any photo-editing software. Cropping is a very simple process and can be done by anyone using commonly available software like Picasa or Paint. You may also find an image within an image by cropping. An example is shown below.

An illustration for image cropping. This is the image of a full flower, before cropping.
Cropping can do wonders in some images
This is the cropped version of the previous image
This is a cropped version of the image above

Image of a red flower before cropping
Another example of cropping....the full image

Cropped version of the previpous image
.....and the cropped version

9.Beware of colour variations in some colours Some colours do not reproduce accurately under harsh lighting conditions. Purple is one such colour. In many compact cameras this colour is rendered in varying hues depending on the lighting conditions. Diffused lighting as on an overcast day is recommended. Also, some colours like red, often blow out, if inaccurately exposed.

Image of a bunch of purple coloured flowers, to illustrate inaccurate rendering of some colours
Violets and purples are often reproduced inaccurately under harsh lighting conditions
An image of a red rose with red channel blowout
Colours like red are prone to channel blow out if inaccurately exposed as in this picture. Note that the details in the red petals are lost and can not be recovered
This is the correctly exposed version of the previous image of a red rose. In this correctly exposed image the details are visible.
By correctly exposing the same flower the details the petals are now restored
  
10.Look out for bees and butterflies:  Bees and butterflies add beauty to the pictures of flowers. While insect photography will be a topic for one of my future blogs, I am mentioning it here as they compliment flowers very well.
Butterfly on a flower to illustrate that insects complement flowers
Zoom in and be patient while photographing butterflies and bees on flowers
Bee on a flower to illustrate that insects complement flowers
Be patient and wait for the insect to settle down.

Friday, July 25, 2014

Tips for Photography in a Zoological Park


Many amateur photographers, at some time or other, consider wide-life photography as a genre they would like to pursue.   Serious wildlife photography, however, involves considerable investment in equipment, time, money and most importantly, patience. One may end up in a reserve forest with heavy equipment for hours together without a single sighting of the animal or bird he or she has been waiting for. This is where a visit to a zoo in your city becomes a promising proposition. Most large cities have zoological parks. One can take fairly decent wildlife pictures in a zoo with minimum investment in equipment, time and money. While this is surely not a substitute for true wild-life photography, it may be a more viable option for many. If you intend to take reasonably good images of birds and animals in a zoo these tips may be of some help to you.

1. Try to visit the zoo on a working day. This may involve taking a day off from work but will surely help you in getting some great images. On weekends these places are too crowded and noisy. It is important to find out the day when the park is closed. Just imagine travelling all the way to a park like the Bannerghatta National park, Bangalore on a Tuesday and realising that it is their off day!

2. Start as early as possible. It is best to be there as soon as the place opens. The animals will be in a more relaxed state and the place will be clean. The lighting also will be better early in the morning.

3. It is better to go with minimum equipment. If you have a DSLR, the kit lens is quite adequate. If you are using a compact camera or a ‘bridge’camera make sure you are familiar with the operation of optical zoom feature. In fact even if you have no camera, your mobile phone can take reasonably good images.
4. One of the major challenges of taking images in a zoo is that very often one has to take images through a wire mesh which forms an integral part of the animal ‘cage’. Sometimes this mesh is so small that it is impossible for your camera lens to get an unobstructed view of the animals inside (this is where a mobile phone camera wins hands down as the lens is usually small enough to clear the wire mesh). There are some tricks to overcome this problem. Bring in your lens as close to the mesh as possible.  If possible, bring it flush with the mesh. If using a zoom lens, zoom in as much as you can. If your camera has manual mode or aperture priority mode (TV mode in Canon), open up the aperture to the maximum (the smallest f/ stop number). Larger the aperture, the better. If you are not able to go close enough to the mesh your autofocus may try to focus on the mesh rather than the subject. If this happens, resort to manual focusing. Now gently press the shutter release. In all probability, you will get a reasonably good image without the mesh.


Image of a mesh in a zoo cage to show challanges in capturing zoo animals
Image taken on a mobile phone to show the size of the mesh. Mobile phone image by Ms. Preethi Nair
Image of a white peacock captured throgh a mobile phone by placing the small cell phone lens over the gap in the mesh
Image taken on mobile phone by placing the lens on the gap in the mesh. Mobile phone image by Ms. Preethi Nair
 
Image of white peacock captured through a mesh using wide apperture on a DSLR
Image taken on a DSLR using wide aperture technique to eliminate the mesh
 
DSLR image showing how the use of a large apperture can eliminate a meshed cage in a zoo
Iguana- photographed through the mesh on DSLR using large aperture. Mesh totally eliminated
5. Shoot from as many angles as possible.

6. Do not use Flash.

7. Be as quiet and as unobtrusive as you can. Your movements may irritate the animals and they may move away.

8. If an animal is sleeping do not make noises to wake it. Respect the animals’ need to rest. Moreover, remember sleeping animals also make good pictures.

9. While in a zoo do not ignore the flora and fauna around you. You may get some excellent images of flowers and butterflies if you look around.
wild flowers captured on mobile phone.
Image taken on a mobile phone at Bannerghatta National Park. Mobile phone image by Ms Preethi Nair

Coloured plant photographed at a zoological park
Colourful plant captured at Bannerghatta National Park
        
Butterfly howering over wild flower. You can capture more than just caged animals in a zoological park
A DSLR image taken at Bannerghatta park

Please see the Photo Gallery section for more images taken during my visit to Bannerghatta National Park, Bangalore